
Awhile ago, I ordered a small piece of fabric intending to make underwear but the seller contacted me after I placed the order to say they were actually out of stock. She asked me if I wanted to substitute something else, so I impulsively picked another jersey print, which I started to regret after it had been shipped because it didn’t really seem like me. But once I got the fabric, I actually liked it—just not for underwear. It’s a cotton/rayon/spandex blend that is very stretchy and drapey. Out of curiosity (and probably a bit of mid-day procrastination and general weirdness), I draped it around my body and started toying with the idea of turning it into a tank top for layering under cardigans.
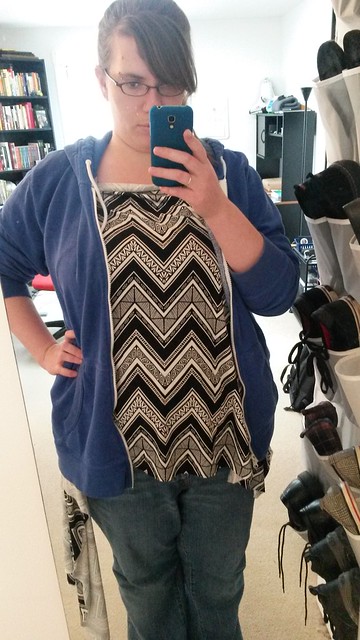
Proof of my weirdness.
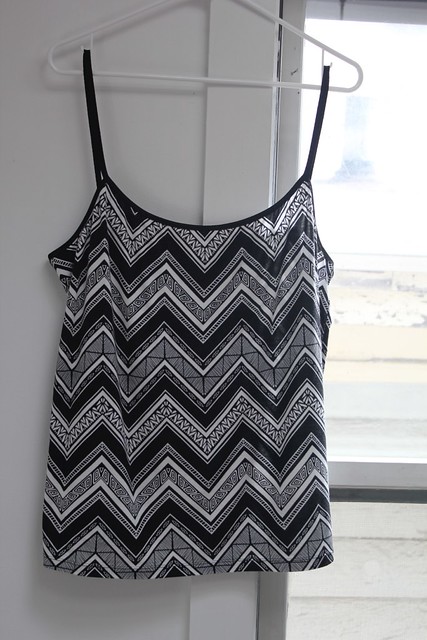
The fabric was a half yard cut from Girl Charlee—they sell what are basically remnants that they promise are somewhere between 1/2 and 3/4 a yard for ~$3. This particular piece was closer to 2/3 of a yard, which was not quite long enough for an actual tank top but more than enough for a camisole. Rather than seek out an actual camisole pattern, I decided to hack the Birgitte Tee pattern since I already knew from making my gray long-sleeved tee that I liked the fit through the body. For the back, I just traced the back Brigitte pattern piece and drew a straight line right across the back from armhole to armhole. For the front, I used a French curve to extend the lines of the armhole and neckline until the intersected at a slight, curved point. There was no real science to modifying the front. I just played around with the lines until I had a shape that pleased me. I also added 3/8” to the front neckline because I didn’t want the neckline to be too low and since there would’t be a neckband to add any height to the pattern.

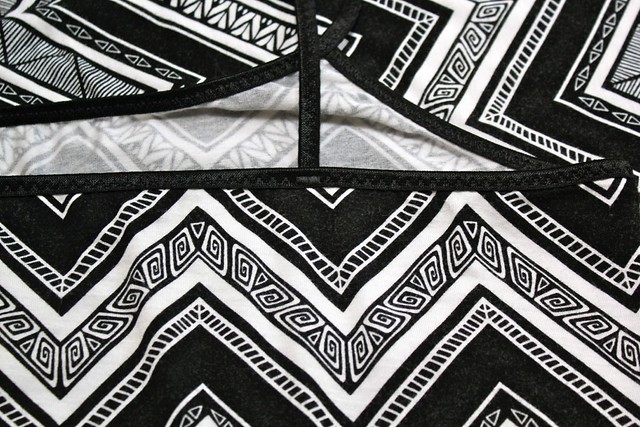
The actual sewing was quick and easy. I’m not a fast sewist by any means and only use a standard machine (I don’t have a serger) and this took me about an hour and a half to sew up. I sewed up the side seams, attached the elastic to the top, and then turned the bottom up 1” and hemmed with a stretch twin needle. To apply the elastic, I followed the basic construction method outlined by Zoe in her free vest/singlet/camisole pattern, by attaching the elastic around the back and sides first and then attaching it to the front, with extra length for the straps. (The pattern itself doesn’t come in my size or I would have saved myself a bit of trouble and used it, but the instructions were still really useful.) However, I prefer to attach my fold-over elastic in two steps (as outlined here) rather than one step like Zoe does. It might mean a bit more time at the machine, but I feel like it gives me more control over the stretch and positioning of the elastic.
In her instructions, Zoe recommends gently stretching as you sew, but I wanted to be a bit more precise to make sure I was stretching the elastic evenly. So I measured the back and the sides and cut my elastic 10% shorter than the back measurement. I used a few pins to equally distribute the elastic around the back and sides and to give me a guideline for stretching the elastic as I sewed. After that, I tried the camisole on and threw a tape measure over my shoulder to get a sense of how long the straps would need to be. The tape measure told me I’d need 15” straps, and I added an inch of discretionary length, so I calculated each strap as 16” long. I then measured across the front of the camisole, and again subtracted 10% from this measurement to get the correct length of elastic needed across the front. I added this measurement to the 32” needed for the straps to figure out the total amount needed for the front and straps combined. I pinned the elastic to the front so that I had 16” of excess elastic hanging off of each side for the straps and then stretched the remaining elastic in the middle evenly across the front. I then pinned the straps to the back to double check the fit, and tacked them in place with a satin stitch so they are very secure. In the end, I used about 2.25 yards of 5/8″ fold-over elastic to make this camisole.

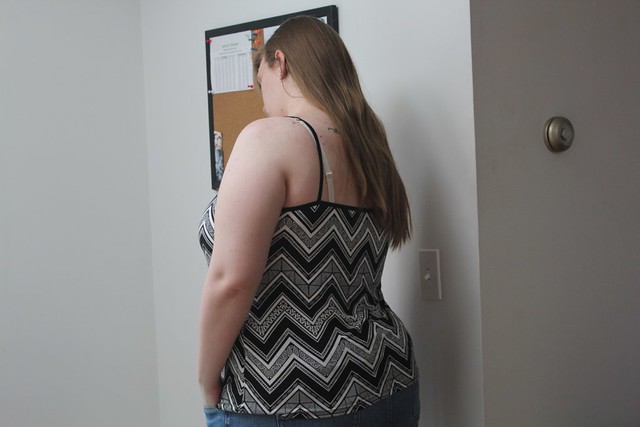
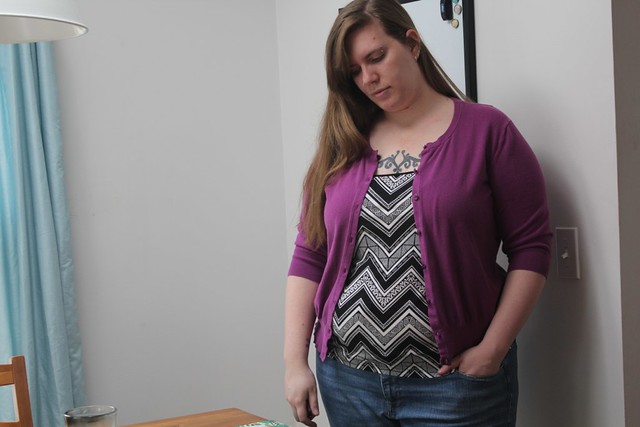
The resulting fit is just what I wanted. The body is fitted but comfortable, and the elastic keeps the back and neckline snug against my body without binding. Since I will only wear this under a cardigan, I didn’t bother trying to match the pattern at the side seams. The pattern would have been a major pain to match, and I didn’t have enough fabric to attempt it. However, I did make sure to balance/center the print at both the front and the back—obviously, I learned something from watching The Great British Sewing Bee.

I wasn’t going to post a picture of myself in this without a cardigan over it, largely because it would reveal so much of my shimmering vampire skin. But then I remembered that I’m a body-positive feminist teacher/researcher writing a dissertation that’s essentially about power and body shaming. So here you go—my non-academic exercise in body positivity and proof that I managed a good fit, all wrapped in one!
By the way, have you seen this interview with Dixie from Dixie DIY? Her answer to the last question about the way feminism influences her approach to sewing is brilliant, and made me proud to be a crafty feminist. If you haven’t checked the interview out yet, you should. And feel free to share your favorite body positive/feminist crafting resources in the comments!

“But then I remembered that I’m a body-positive feminist teacher/researcher writing a dissertation that’s essentially about power and body shaming.” Heck yeah you are!
I should probably be repeating this to myself in the mirror every morning to build up my diss writing confidence!
Do it! Write it on post-its and put them around the house!
It really looks great. The pattern of the fabric looks fabulous centered like that and it was interesting reading about the elastic measuring part.
I should go read that interview!
Thank you!
Pingback: May MAGAM Plan | Sweet Alchemy
Pingback: Long-Term Wearability Report | Sweet Alchemy