I loved this pattern as soon as I saw it, and bought it immediately–well over a year ago, according to my email records. I even printed it out and put the pdf together right away. But I lost momentum and sort of forgot about the pattern for two reasons: first, I wasn’t sure what would be the best way to adjust the pattern to fit me, and second, I wasn’t confident enough in my sewing and was pretty sure I’d screw up the placket.

I pulled the pattern out again last month when Thread Theory hosted a Camas Sew-Along. I didn’t actually manage the “sew-along” part, but I read all of the tutorials and found they addressed all of my concerns with the pattern. And now that I’ve finally finished this shirt, I love it. It’s definitely not perfect, but I still think this is probably the nicest thing I’ve sewn for myself so far.

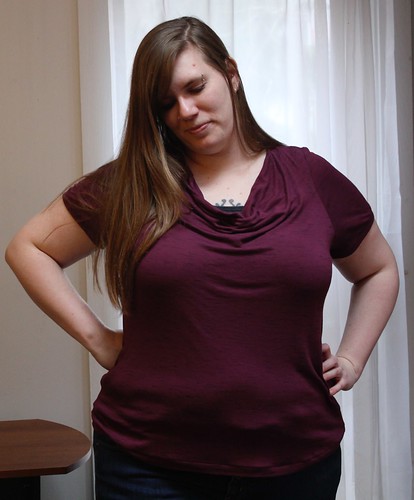
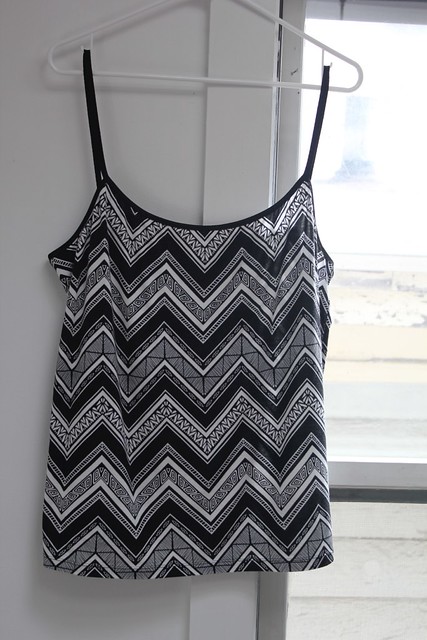
(By the way, the tank top I’m wearing under my Camas in these picks is super “grabby” so the shirt doesn’t look as sleek as it can. I have a much nicer cami that I’ve worn under this when I’ve worn it to work that results in a much smoother look, but it was in the laundry due to an unfortunate Moroccan Stew dribbling incident. Regardless, the neckline of this shirt is pretty low, although the sew-along has instructions for raising the neckline if desired.)
For this shirt, I started with the size 16 and blended out to an 18 for the hips. Then I added an inch of length to both the body and the sleeves. I also did an FBA following the method described in the sew-along, adding an inch of width to the fronts in the middle of the section that would be gathered into the yokes. This adjustment was really easy to make and works nicely to maintain the silhouette of the shirt. I think 1″ is about the upper limit of what I would add to this pattern–the fronts were pretty densely gathered for me, and I suspect that adding much more width through this method might result in some unflattering “poofing” under the yokes. Also, be careful not to keep the gathering outside of the placket seam allowance. My gathering got caught in the placket seamline on one side and that side doesn’t lay as nicely (although that’s not going to keep me from wearing this).

The actual pattern instructions are very clear, but the nice thing about the sew-along is that it gives a couple of different options for constructing different part of the shirt. I constructed the placket following the steps in the pattern instructions, but next time, I think I’ll try the second, more streamlined method described in the sew-along. The construction of the shirt is quick and straight-forward up to the placket. I was worried that the placket would be difficult, but it really just takes a bit of time and care.

The fabric I used is Dakota Stretch Rayon in Plum. I bought it from Fabric.com, but I don’t think this particular color is available any more. It’s a fluid, drapey fabric so it works well for the gathering details. I used knit interfacing for the yokes and placket, but only interfaced the top layer. My button placket is also fake–I just sewed the buttons through both layers of the placket. The fabric is more than stretchy enough for me to just pull this on, so it didn’t seem worth it to mess around with buttonholes.

I’ve got more of this fabric in black and am already planning to use it to make another Camas before the fall semester starts. I love that pattern combines the comfort of knits with some interesting design and construction details. I wish there were more patterns like this.